How To Crochet For Beginners
-
admin
- Posted on

What is Crochet?
Crochet is a method of crafting which uses a hook needle to create fabric connecting loops of yarn or thread. It’s like knitting, however instead of 2 needles for crochet, the technique utilizes only one hook. You can make a range of things like scarves, blankets, caps, and even intricate work of lace. It’s a favorite pastime loved by many around the globe. The possibilities are endless! We’ve put together a step-by-step, easy-to-follow instructions to assist you learn how to crochet, with helpful suggestions throughout the process!
What do I need before I start crocheting?
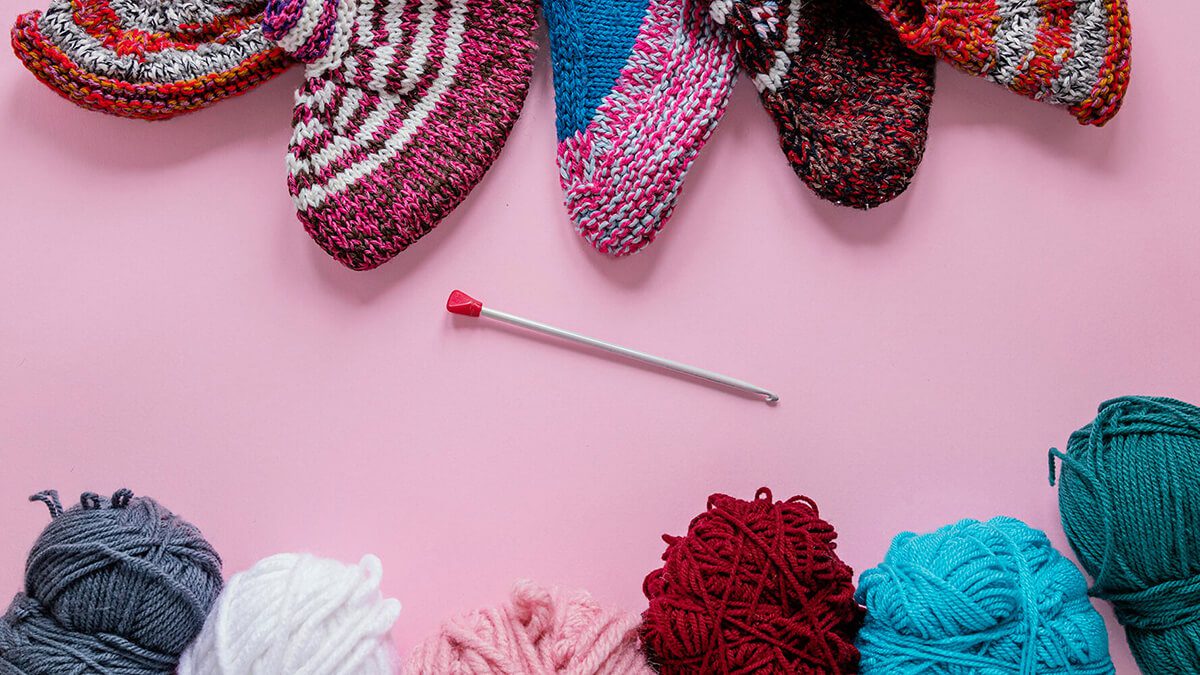
One of the great things with crocheting is the fact that it doesn’t require a lot of equipment to start You can do it using just two basic tools:
Yarn
Crochet Hook
But, having access to other tools can make life more efficient. Let’s get more specific and you’ll be able to decide the best option for you.
Additional tools:
They might not be needed for every project however it’s recommended to keep these on hand to help you get the job done:
- Scissors – A set of scissors that are sharp can help you cut yarn or cutting loose ends.
- Yarn needles can be employed for weaving loose ends, and sewing pieces.
- Stitch markers are useful to mark certain stitches or sections of your work.
- Measuring tape is a flexible measuring tape can be used to measure gauges and check your work.
Other accessories. Some crafters prefer using a container or bag to organize their yarn as well as an instrument to keep track of their stitches.
How to Hold Your Crochet Hook
Method 1 – The Pencil Grip:
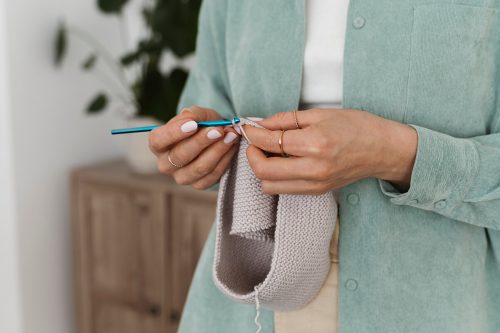
When using the pencil method, put your finger on the flat portion of the hook. It should be near the thumb rest, or the grip area. Place the hook on the index finger, keeping the pointed end facing downwards. Your other fingers are gently twisted around the hook as you would hold pencils.
Method 2 – The Knife Grip:
When using The knife technique, put your right hand on the hook, and hold it between your index and thumb to start. Left hand utilized to manage the yarn and keep the stitches in place as they are made.
Make sure to choose the grip that is comfortable to you. The goal is to locate a grip that will allow you to control the hook without causing any discomfort and keep control when working on your project. Experimentation and practice will allow you to determine which is the best and effective technique for you.
How to Hold Yarn When Crocheting
It’s essential to understand how to control your yarn in tension. Tension is essential when crocheting because it influences how your project appears overall and the size of your work. If you crochet with a constant tension, you can be sure that the stitch is consistent in appearance and size. This is crucial when creating projects which require exact measurements.
Place your hand that is not dominant to the side and place it on your back. The first yarn strand under your ring finger, pinky or your middle finger. Wrap it around your finger that is pointed. You can control the tension by pressing your fingers while you stitch and add more yarn to the project. If you press, you’ll create more tension, and the stitches will be shorter. A lesser squeeze results in lower tension as well as looser stitching.
How to Single Crochet (SC)
A single crochet stitch is among the crochet stitches that are most commonly used, and is often among the first stitches beginners learn. Once you’ve constructed the foundation chain, you’re able to begin creating single crochet stitches within the chain to create your fabric. This is a step-by-step tutorial for making one single crochet
Insert your hook: Grab your crochet hook, and then insert it inside the preferred stitch on the chain that is the foundation. This is typically the second chain of the hook, however it may differ depending on the pattern.
After your hook is in place and the yarn is wrapped around the hook from the back to the front and move it in a counterclockwise direction.
Pull through: Pull the yarn that you have wrapped across the stitches. You should now be able to tie two loops onto your hook.
Then pull the yarn over both loops Wrap the yarn around the hook and then pull across both loops of the hook. This makes one crochet stitch.
Continue along the row Repeat steps 1 to four for each stitch of the chain that forms the foundation until you get to the end of the row.
Turning chain: Once you’ve reached the end of the row, it’s time to turn your work in order to begin with the following row. To accomplish this, you must chain one (or as many chains as is necessary to follow your pattern) and then turn your work.
Single crochets in each stitch Inject your hook into your first stitch on the row and yarn over and weave through the stitch then yarn over, then pull through both loops of the hook. Continue to crochet single crochets through the entire row.
Repeat steps 7 and 7.7 for every row. creating a turning chain towards the conclusion of every row until your project has reached the length you want.
Learning one crochet can make you more comfortable in crocheting, and you’ll be prepared to try different stitches and more complicated projects within a matter of minutes!
How to Double Crochet (DC)
Double crochet (abbreviated as “dc”) is another basic crochet stitch that is higher over the standard single crochet. It’s often used in various crochet patterns and can result in an airier and more open fabric. This step-by-step instruction will show you how to create double crochet:
Put the yarn over and then insert your hook. Then, wrap the yarn from front to back around your hook and go counterclockwise. After that, you can put your hook inside the appropriate stitch on your foundation chain, or in the previous row.
Pull through and over Again, push it back through the seam you placed your hook in. You should now be able to tie three loops onto your hook.
Pull across two loops. Pull over again and take it out through the two first loops that are on the hook. There should be two loops left on the hook.
Pull through the final two loops You can repeat the yarn one final time, and then draw it through the two remaining loops of your crochet hook. This is the end of one double crochet stitch.
Continue along the row Continue to repeat steps 1 through 4, for every stitch of the base chain, or in the previous row until the end.
Turning chain: In order to begin with the second row it’s necessary to make it into a turn chain. Double crochet is a common way to make three chains at the beginning of each row, and then turn the work.
Double crochet each stitch: Beginning with the second stitch of your hook (the first stitch is the one where you created your turning chain) then yarn over the hook, then insert it and begin in a double crochet using the steps 2 to 4. Continue to make double crochet stitches throughout the row.
Repeat steps 7 and 7.7 for each row. creating the turning chain with 3 at each end until the project is at the length you want.
As you practice, you’ll be more comfortable with the double crochet, and you’ll be capable of incorporating it into many designs and crochet patterns.
conclusion
In conclusion, crocheting is a wonderful and fulfilling hobby that anyone can learn, especially beginners. By following the step-by-step instructions and practicing regularly, you will soon become more confident in your skills. Remember to start with simple projects and gradually work your way up to more complex patterns. Don’t be afraid to make mistakes – they are all part of the learning process. So pick up your hook and yarn, and start crocheting today!


